Blog
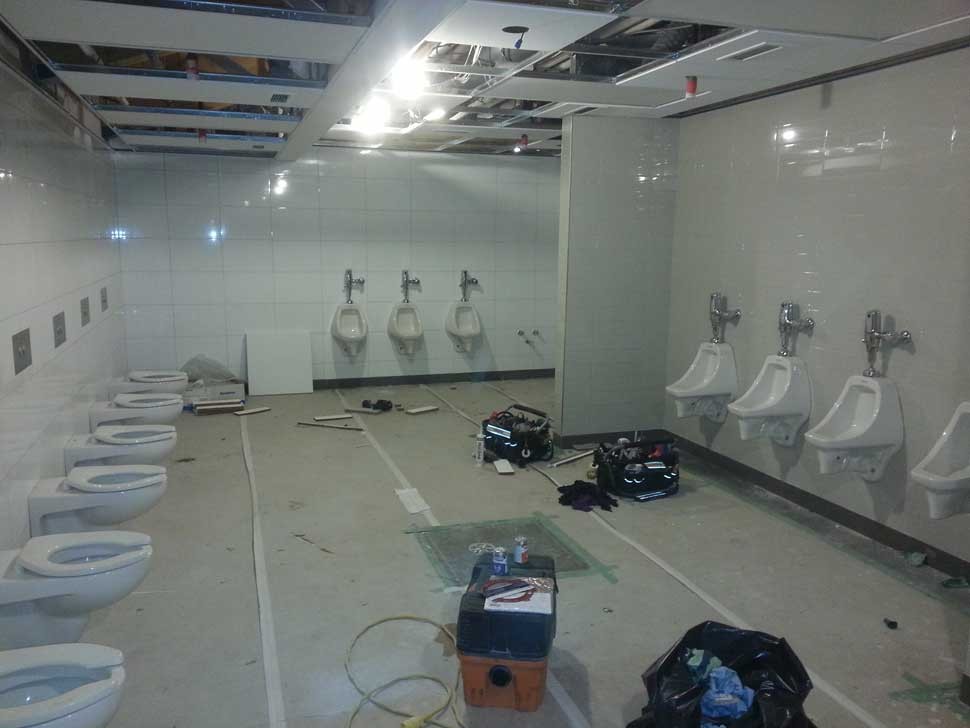
Commercial Urinal Disassembly and Assembly
Anyone male, who is old enough to talk would know what a urinal is. However, not many would likely take the time to know much more than how to use one. Well, this minor lesson will will dive into those details.
Since disassembly is basically the opposite of assembly, we will not discuss those details, except the minor differences. The minor difference is that the disassembled urinal will have the nipple capped with a taped and piped doped black iron end cap.
Now, let's move on to assembly.
Assembly
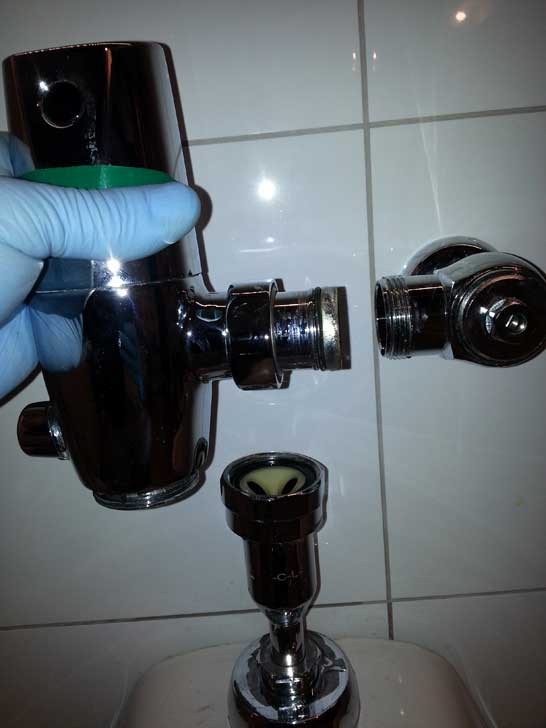
To assemble the urinal, the lower piece that connects to the urinal is located inside a bolt that is connected to a small, male threaded fitting that is tight and sealed into its female counterpart that is located under the top of the urinal on the underside of the porcelain.
To make the above mentioned fitting tight(if necessary), we can place a chisel inside the male from the top and make the bottom female tight.
After that, or even before the last procedure, we mount the fitting which is attached to the nipple located on the wall. A discussion ring with chrome is placed behind it before the fitting is threaded on with teflon tape and pipe dope.
Back-wrenching is required with this procedure or a super careful eye is required to ensure the nipple does not turn. A Sharpie mark on the nipple makes it easy to see and track any movement.
Now, we connect the main body to the side and bottom, and connect them tightly. Now, we can turn on the water and test for workability and leaks.
One potential source for leaks is the small piece of chrome that extends from the main body to the female half of the union. If it leaks, it may need tightening, or teflon tape and pipe dope if the o-ring is not doing its job.
Other potential leaks can normally be dealt with by tightening the threaded fittings. To tighten chrome fittings without scratching them, a set of large Channellocks can be used in combination with a rag under the jaws.
Now, in some circumstances, we could insert the main body and it is not working properly. For example, it could be stuck on perma-flushing. In this case, we need to disassemble the body from the side threads and bottom.
Of course, this starts with turning the water off, or we are in for a complete messup that could require more cleanup time than fix time. Also, after water is off and we disconnect the main body, we can place a bucket to the side where the sideways threads are located since a little water will pour out and run along the side of the urinal.
Once we have a our main body off, we can disassemble the two pieces with an Allen key and a slight twist. Then, we can remove the connection from the battery for a minute or so, reconnect, put the two body pieces back together and reassemble to the urinal.
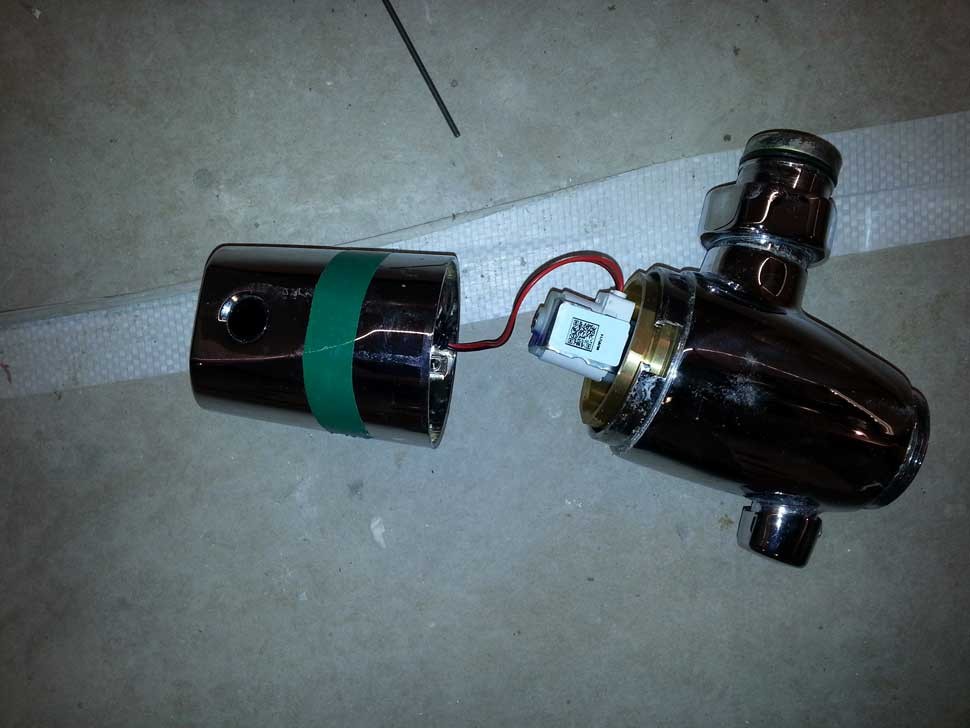
Now, hopefully it works! Real faulty units may fail completely and this may not resolve the problem.
Tags: No Tags
by Kent E 5 years ago 0 comments
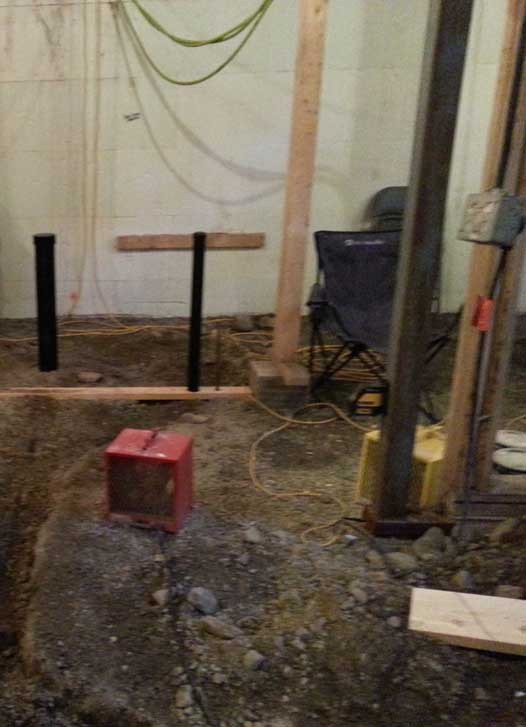
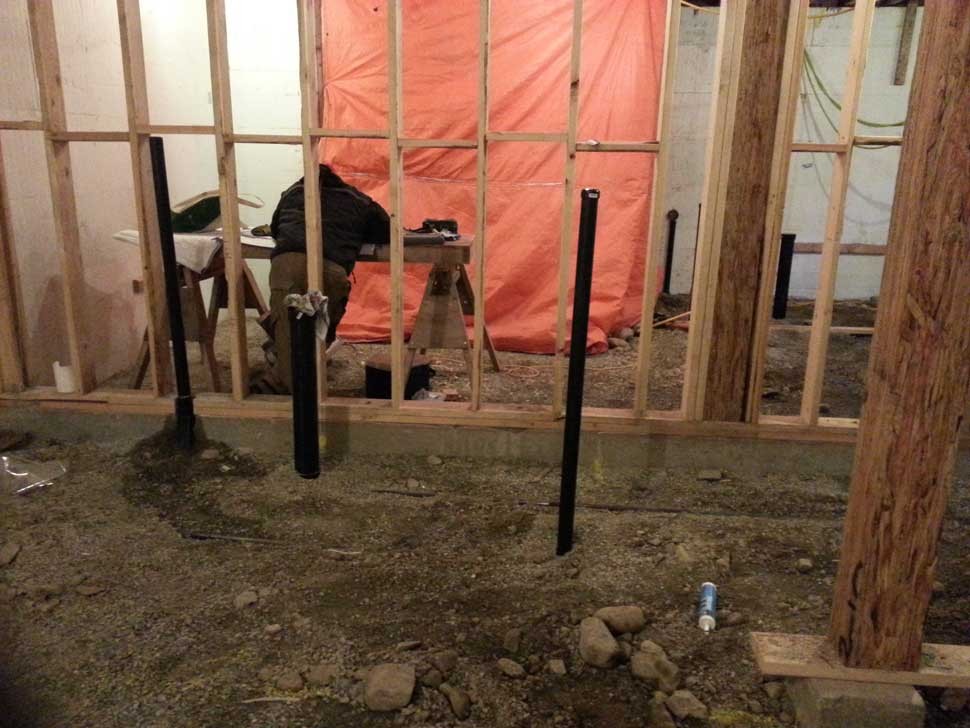
Residential Drainage With Slab
When starting drainage with new construction, the typical process is to start from the master drain on the bottom level and work on up. However, the odd addition could be involved such as installing the top vent through a roof before the roofers do their work on the roof.
So, with that said, let's go through a quick checklist of the process, and cover them in more detail later. It sort of begins with digging out ground for a house with a slab, or crawl space work for a house that has one. This article will deal with the former....a house with a concrete slab and no crawlspace.
Procedure:
- Digging
- Insert Sump(if required)
- Layout and glue pipe on grade
- Cap the pipe
- Testing
Digging
This one is an obvious no-brainer. We grab the spade and dig deep enough to accommodate the graded pipe. Once we know we are good to go, we can move on.
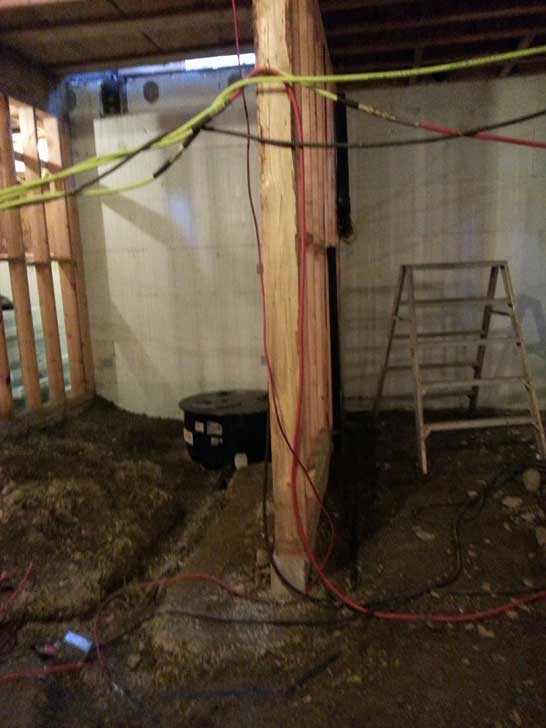
Sump Pump
In some homes, the actual basement of the lot can be much lower than the sewer pipes that collect sewage from the houses in the neighbourhood. Therefore, the drainage much get pumped up from the lowest point in the house drainage system and into the town(or city) sewer lines.
This transfer in handled by a sump pump located in a tank. Thus, as a reminder, all drainage from the house will end up here before it moves out of the house. This includes everything from the toilets, sinks and other waste systems like washing machines and dishwashers.
The sump depth will be determined by the height of the inflow pipe which will exist under the poured concrete. However, the top of the sump and access will be accessible after concrete if poured, for obvious reasons.
Layout and Glue Pipe
After the digging is complete and the sump is level and back-filled, we can continue assembling the ABS via measuring, cutting, levelling and gluing. After that, we can back-fill and cover up the pipe while leaving the top exposed for the inspector.
Cap The Pipe
All of the pipe will need to be capped except for one opening which will be taller than the rest, which will be used to fill it up with plain water, water/glycol if the weather is very cold and pipes are at a risk to freeze.
Testing
At this point, we expect the system to hold the water and be leak free. If not, we find the weak spot and ensure it does not leak, and test again.
Tags: No Tags
by Kent E 5 years ago 0 comments
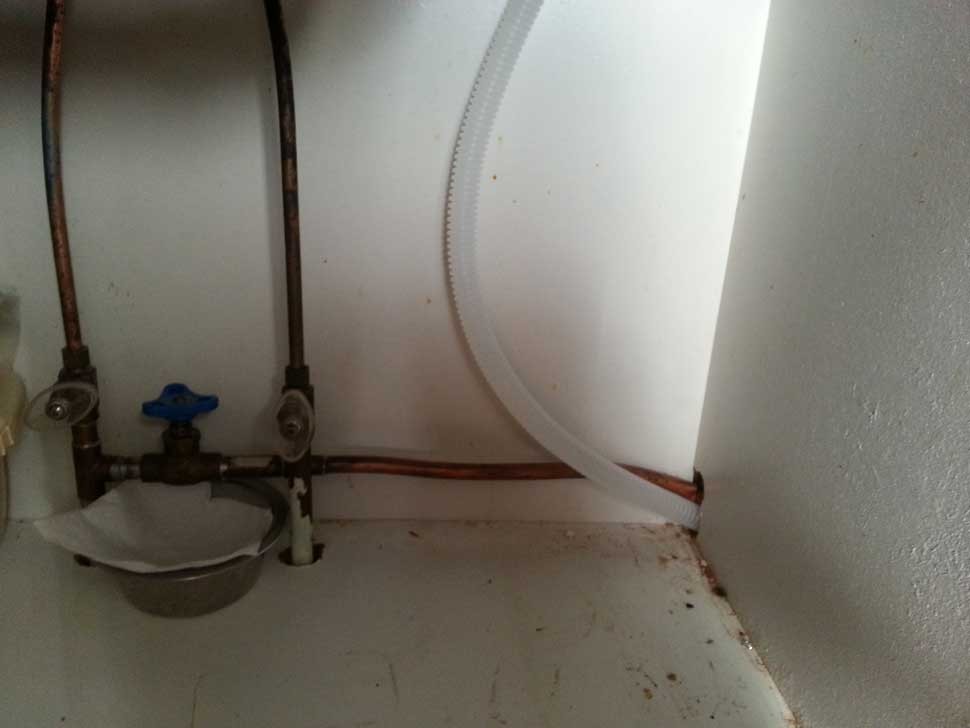
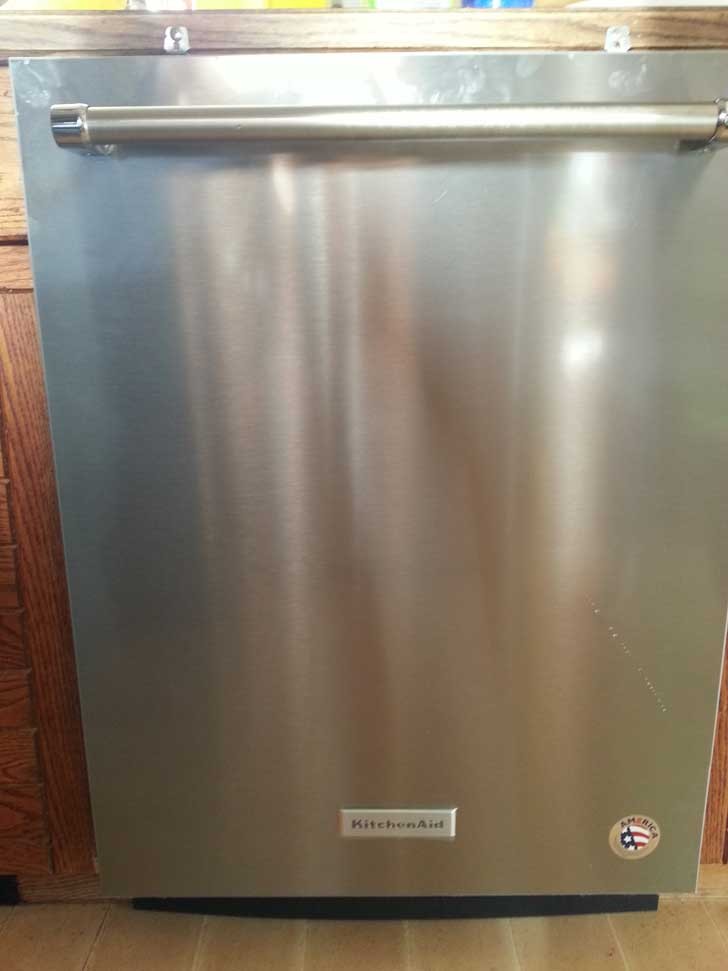
Dishwasher Replacement
So, that dishwasher crapped out and it is time for a new one. Although we could use some old parts and pipe, we should likely go forward with more, newer parts that won't be potential problems.
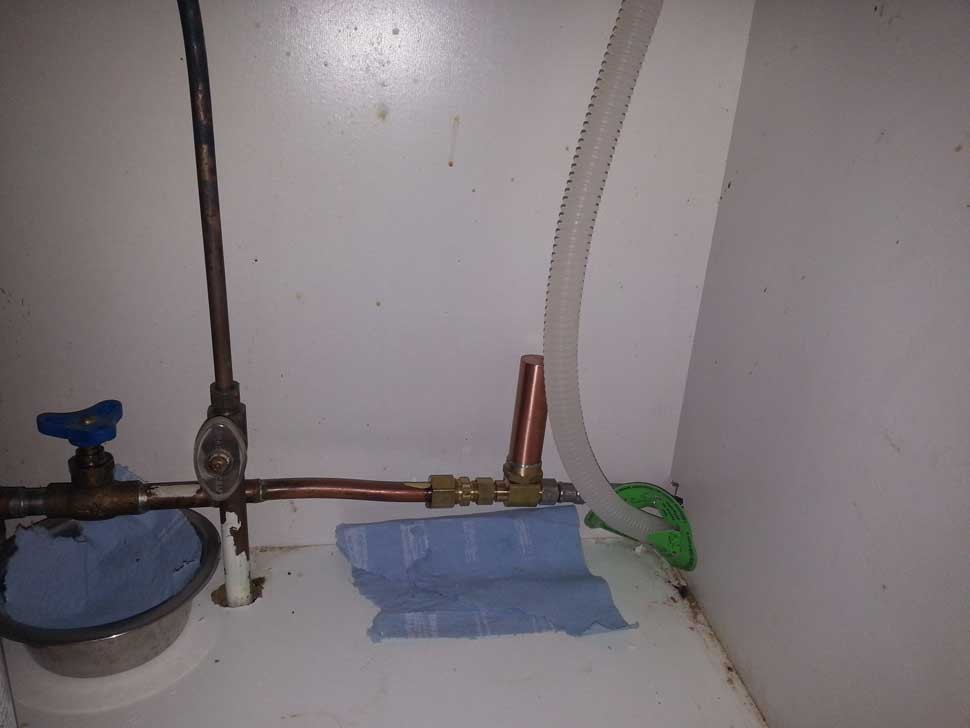
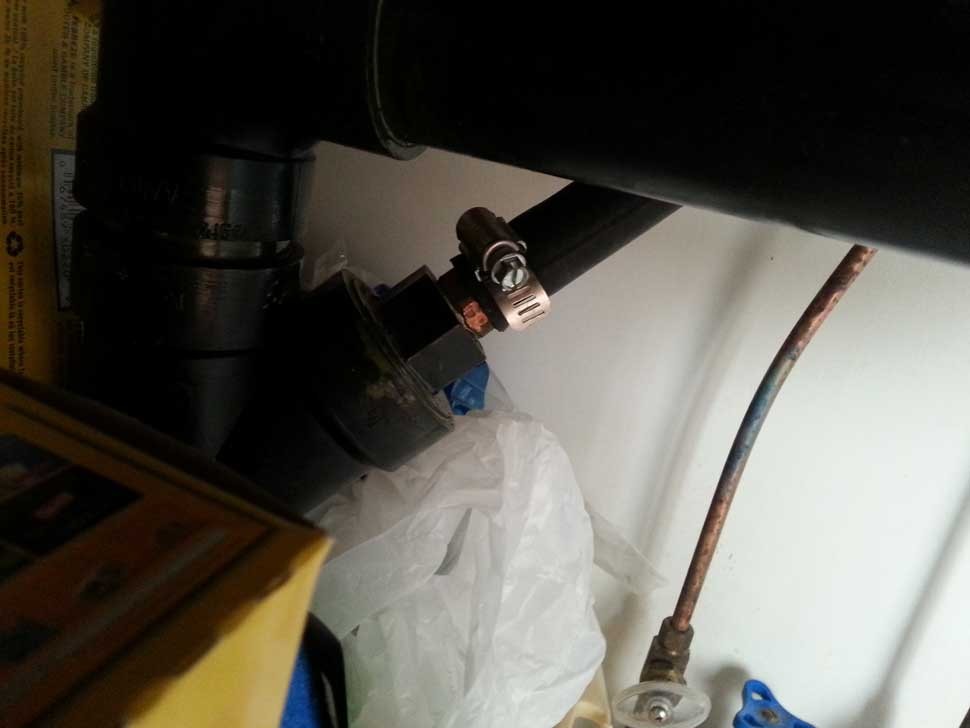
In our case, we will cut the 1/2-inch od copper pipe, add a new compression fitting, hammer arrester and braided hose. However, we could have done something else like soldered on a 1/2-inch brass fitting for pex and gone than route too.
Since the original compression fitting lasted 35 years without leaking and the copper slammed frequently since it had no hammer arrester, the route we chose to go should do.
Procedure
To start with, we turn the shut-off so it is off. Then, we can remove the old drain and feeder pipes to the old dishwasher, and finally, pull it out.
After that, we can prepare the new hose lines and drainage. We can do this with the dishwasher in front of its final position. Once we connect the drain lines and hose to the new dishwasher, we just need to make sure they run under the sink.
After that, we can connect the drain hose to the abs under the sink and get to work on the copper. Or, we could have done this prep work first. Other way, it comes to the same thing.
In our case, we added a compression fitting to the copper pipe and secured it. It should be tight, but, not real tight. We don't want to damage the old copper the copper will bulge slightly in time around the olive too.
To add the compression fitting, we place the nut over the pipe, followed by an olive. Then, we thread the male in, attach a a hammer arrester and finally the braided hose. The connections for the hammer arrester and hose are slightly tighter than hand tight, but significantly less than forcefull tight since the washers don't need that excessive force to create a water tight seal.
Before:
After:
Dishwasher drain connection to sink:
Down the road, shall we ever want to look at connections underneath the dishwasher, we can remove the bottom cover and take a look around.
Tags: No Tags
by Kent E 5 years ago 0 comments
Gas Hot water Tanks
Checklist
- Turn off water from tank to house
- Turn off water to tank
- Turn off gas
- Turn pilot off
- Crack tmp valve and drain water to toilet via an inline pump. One end can be a braided hose and the other a regular hose. The drain is at the bottom. A screwdriver is used to open the valve for draining.
- Once tank is drained, remove gas line attached to tank and fittings.
- Cut and remove hot and cold lines from top of tank
- Move tank out and move new tank in. Reconnect new fittings, new copper and perhaps new pex where necessary.
- After reinstall, turn water back on and check for leaks with 'Leak Detection' fluid.
Tags: No Tags
by Kent E 5 years ago 1 comments
Testing
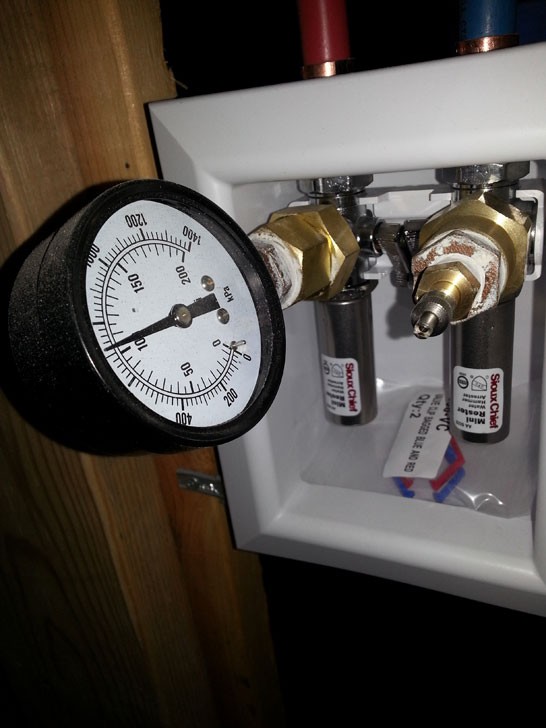
Whether we are doing radiant, gas lines, drainage or water piping, the time will come when we make our tests. Testing for gas, radiant heating and water piping is rather similar using compressed air filled via a valve while we keep an eye on the gauge that gives the psi.
In a perfect world, the psi goes rather unchanged, indicating there are no leaks. Although various companies will use different numbers; some close references are 50 psi for water piping, 30 psi for gas and 50 psi for radiant heating.
Testing for radiant will occur at one of the manifolds. All valves will be open and the gauge and filler cap are inserted into the supply and return after the caps are removed.
For water piping, testing will happen at the washer/dryer hookups; one side will have gauge and the other will have the filler valve.
After we fill radiant or water pipe, we can close the valves and open the gauge ones later to see if the readings are unchanged. Closing them after filling eliminates the possibility of our temporary equipment being a source for leaks.
Testing for drainage is a different deal. We fill all the pipe in the house with water until it leaves the top vent. Then, we inspect everything and look for leaks.
Tags: No Tags
by Kent E 5 years ago 1 comments
Tab Widget
Commercial Urinal Disassembly and Assembly
Anyone male, who is old enough to talk would know what a urinal is. However, not many would likel...
Residential Drainage With Slab
When starting drainage with new construction, the typical process is to start from the master dra...
Dishwasher Replacement
So, that dishwasher crapped out and it is time for a new one. Although we could use some old part...
Gas Hot water Tanks
Checklist
Turn off water from tank to house
Turn off water to tank
...
Testing
Whether we are doing radiant, gas lines, drainage or water piping, the time will come when we mak...